Creating your own wooden candlestick lamp is a rewarding DIY project that allows you to combine creativity and functionality. Not only does it add a personal touch to your home decor, but it also serves as a unique piece of art. In this article, we will guide you through the process of making your own wooden candlestick lamp, from selecting materials to the final assembly and finishing touches.
Why Choose a Wooden Candlestick Lamp?

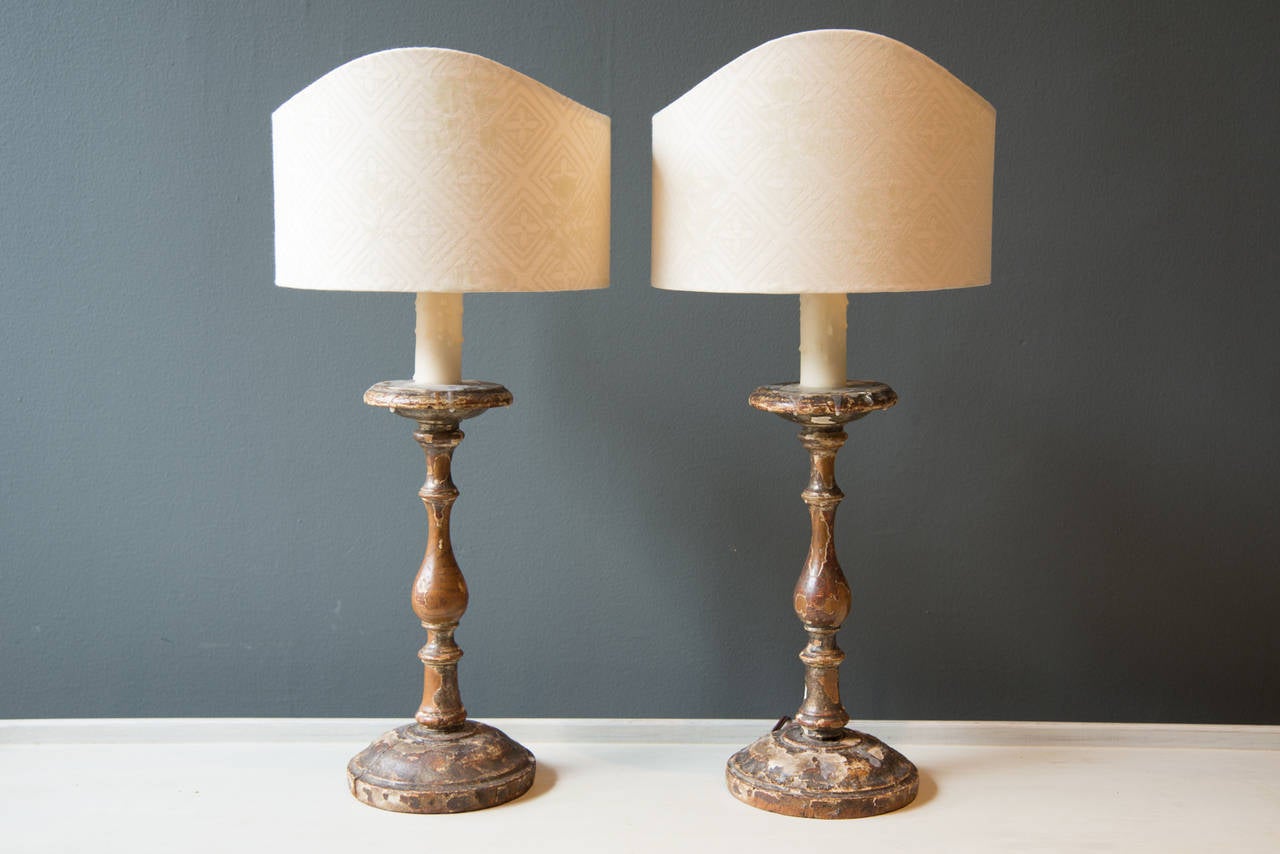
Wooden candlestick lamps are a timeless addition to any space. Here are some compelling reasons to consider making one:
- Natural Aesthetic: Wood brings warmth and character to your home, making it feel inviting and cozy.
- Customization: You can choose the type of wood, color, and size, creating a piece that perfectly fits your style.
- Eco-Friendly: Using sustainably sourced wood can make your lamp a more environmentally friendly choice compared to mass-produced options.
- Skill Development: This project helps you develop woodworking skills and a deeper appreciation for craftsmanship.
Materials Needed
Before embarking on your DIY journey, gather the necessary materials. Here’s a comprehensive list:
- Wood: Select a hardwood like oak, walnut, or maple for durability.
- Lamp Kit: Purchase a lamp kit that includes a socket, cord, and switch.
- Wood Glue: For securing joints, if necessary.
- Wood Finish: Choose between varnish, oil, or wax to enhance the wood’s natural beauty.
- Tools: You will need a saw, drill, sander, and clamps.
- Sandpaper: Various grits for smoothing edges.
- LED bulb: Energy-efficient and safer for wooden lamps.
Step-by-Step Guide to Creating Your Wooden Candlestick Lamp
1. Designing Your Lamp
Start by sketching a design for your lamp. Consider the height, shape, and overall style. The design can range from traditional candlestick shapes to modern, minimalist forms. This step will provide clarity as you proceed with the construction.
2. Cutting the Wood
Once your design is finalized, it’s time to cut the wood. Follow these steps:
- Measure and mark the wood according to your design.
- Using a saw, cut the wood pieces carefully. For a more intricate design, you might need a jigsaw.
- Ensure that your cuts are clean and precise for a better fit during assembly.
3. Drilling the Socket Hole
After cutting your pieces, you need to drill a hole for the lamp socket:
- Choose the top piece of your lamp where the socket will sit.
- Using a drill and the appropriate bit size, create a hole that fits the socket snugly.
- Be cautious while drilling to avoid splintering the wood.
4. Smoothing the Edges
Now that the pieces are cut and drilled, it’s essential to sand the edges:
- Start with coarse sandpaper and gradually move to finer grits.
- Focus on the corners and edges to remove any sharp points.
- Ensure the surface is smooth to prevent any splinters during use.
5. Assembling the Lamp
With all the pieces prepared, it’s time to assemble your lamp:
- Apply wood glue to the joints where the pieces meet.
- Use clamps to hold the pieces together while the glue dries.
- Once dry, double-check the stability of the lamp structure before proceeding.
6. Finishing Touches
After the assembly is secure, you can apply your chosen finish:
- If using varnish, apply it with a brush, following the grain of the wood.
- For oil finishes, rub it in with a cloth, allowing it to soak into the wood.
- Let the finish dry completely, following the manufacturer’s instructions.
7. Installing the Lamp Kit
Now it’s time to install the lamp kit. Follow these steps:
- Thread the lamp cord through the drilled hole to the base of the lamp.
- Connect the socket to the cord according to the kit instructions.
- Ensure all connections are secure and safe for electrical use.
- Insert the LED bulb into the socket.
8. Safety Checks
Before using your lamp, conduct a few safety checks:
- Inspect all electrical connections for any exposed wires.
- Test the lamp in a safe area to ensure it operates correctly.
- Always use an LED bulb to minimize heat and reduce fire risks.
Case Study: Transforming Spaces with DIY Lamps

DIY projects have gained popularity over the years, especially among homeowners looking to enhance their spaces with unique pieces. A study conducted by the American Home Furnishings Alliance revealed that 65% of millennials prefer to personalize their living spaces with handcrafted items.
Consider the case of Sarah, a DIY enthusiast who transformed her living room with a series of handmade wooden candlestick lamps. By incorporating various wood finishes and designs, she created a cohesive look that reflected her style. Sarah’s project not only beautified her space but also inspired her friends to embark on their DIY journeys.
Creating your own wooden candlestick lamp is a fulfilling and enjoyable project that offers a blend of creativity and practicality. By following the outlined steps, you can make a beautiful lamp that enhances your home decor while also reflecting your personal style. Remember, the process of crafting is just as important as the final product, so take your time and enjoy each stage of creation.
In summary, choosing to make a wooden candlestick lamp not only brings a unique piece into your home but also allows you to develop your woodworking skills and express your creativity. So gather your materials, roll up your sleeves, and let your imagination guide you in this delightful DIY project!