Electric frying pans are versatile kitchen appliances, perfect for everything from frying eggs to searing meats. A 10-inch electric frying pan is particularly popular due to its manageable size and capacity. However, like any kitchen tool, it requires proper care and maintenance to ensure longevity and optimal performance. In this article, we will explore essential tips and tricks for caring for your 10-inch electric frying pan.
Understanding Your Electric Frying Pan

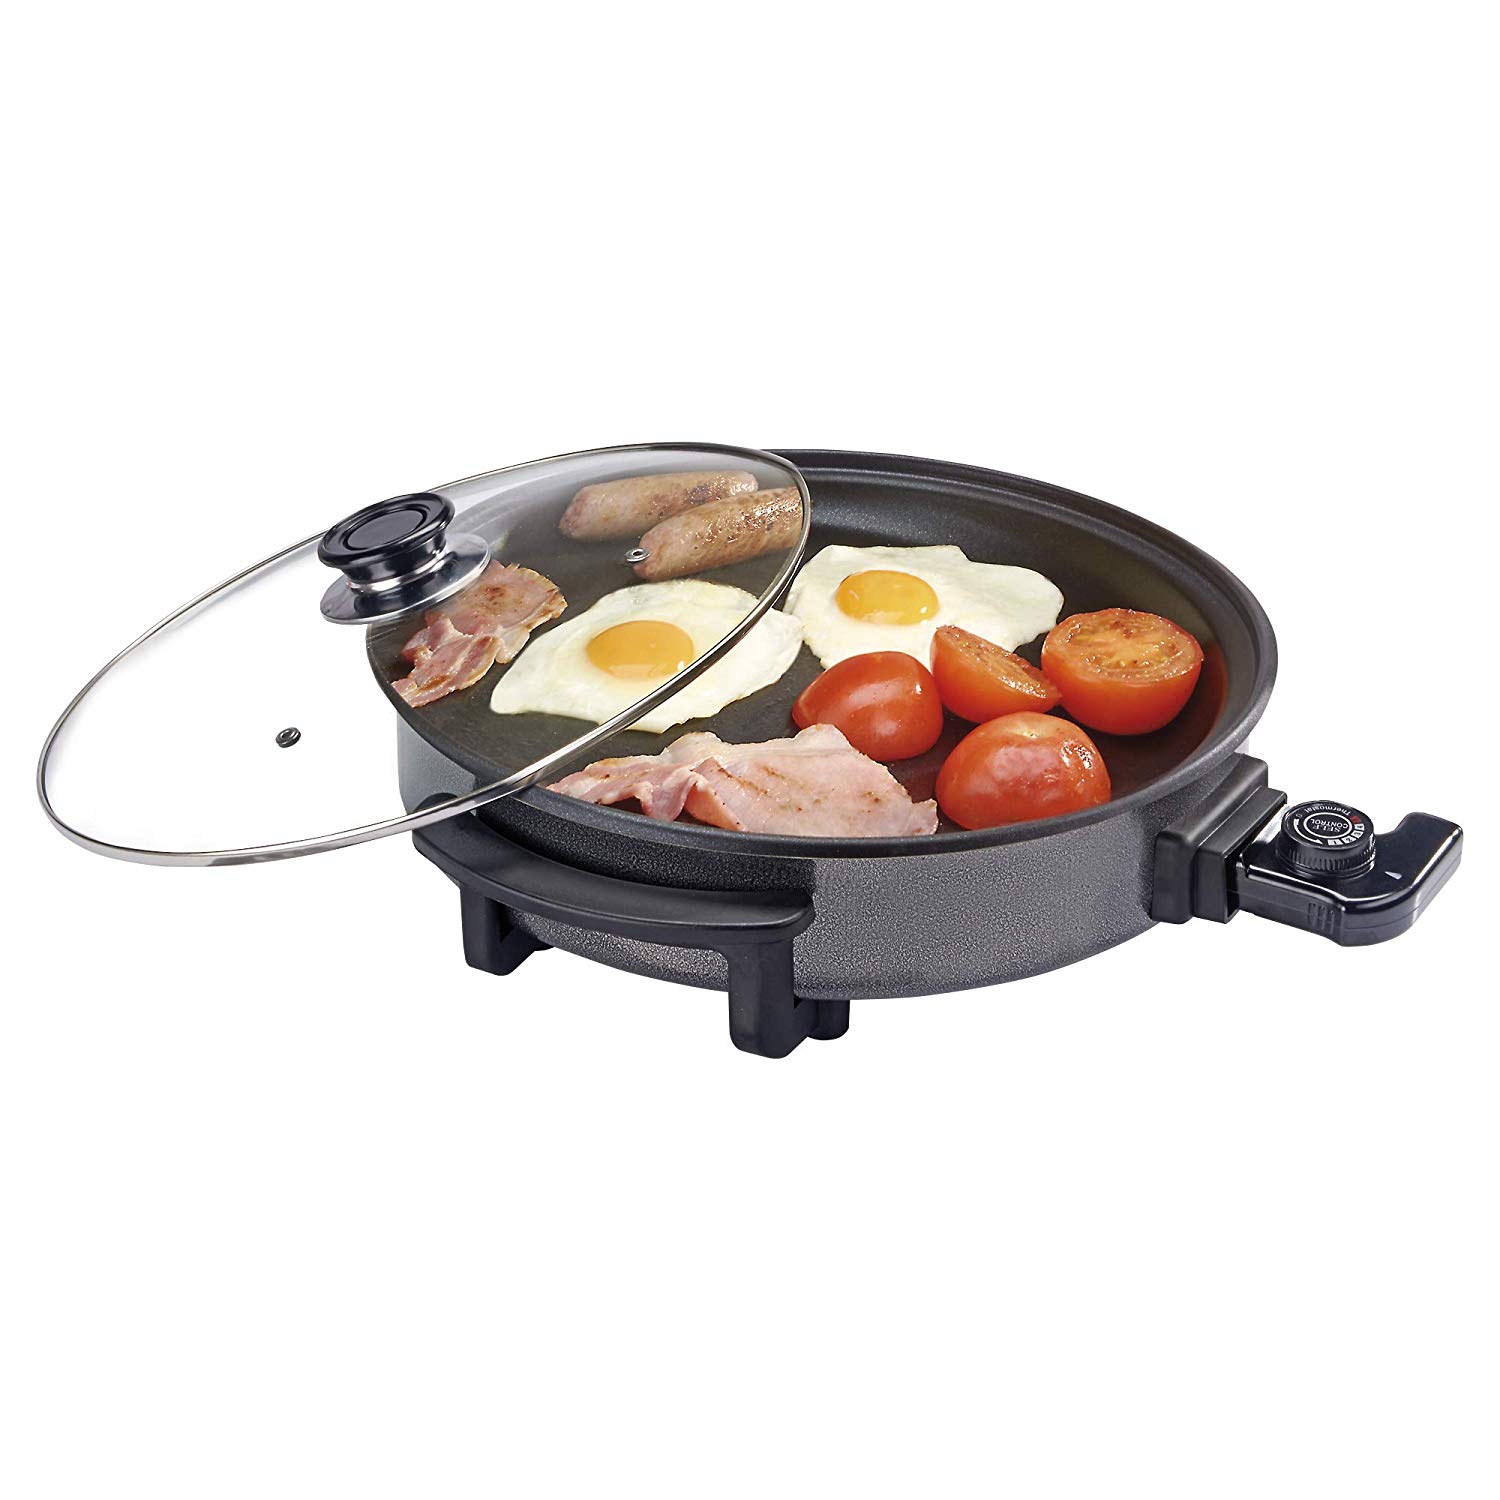
Before diving into care techniques, it’s crucial to understand the structure and features of a typical 10-inch electric frying pan. Most models come with a non-stick surface, adjustable temperature controls, and a removable power cord for safety and convenience. This combination makes them suitable for various cooking tasks, including sautéing, simmering, and frying.
Why Care Matters

Caring for your electric frying pan not only extends its lifespan but also ensures that your food tastes great and is healthy. A well-maintained frying pan improves heat distribution, reducing the chances of uneven cooking and burnt food. Moreover, proper care prevents the buildup of harmful bacteria and ensures a hygienic cooking surface.
Cleaning Your Electric Frying Pan

Cleaning is one of the most critical aspects of maintaining your electric frying pan. Here are some effective cleaning tips:
- Allow it to Cool: Always let your frying pan cool down completely before cleaning to avoid burns and damage.
- Remove the Power Cord: For safety, unplug the frying pan before cleaning.
- Use Non-Abrasive Cleaners: Avoid steel wool or abrasive sponges. Instead, opt for a soft sponge and mild dish soap.
- Avoid Submerging: Most electric frying pans are not designed to be submerged in water. Use a damp cloth to wipe the exterior, and clean the cooking surface with a sponge.
- Dry Thoroughly: After cleaning, ensure the pan is completely dry before storing it to prevent rust or corrosion.
Maintaining the Non-Stick Surface
The non-stick surface of your frying pan is crucial for easy cooking and cleaning. Here are some tips to maintain it:
- Use Appropriate Utensils: Always use silicone, wood, or plastic utensils to avoid scratching the non-stick coating.
- Preheat Properly: Allow the pan to preheat before adding oil or food. This helps in creating a natural non-stick barrier.
- Use Oil Wisely: A small amount of oil can enhance the non-stick capability. Avoid using cooking sprays containing propellants, as they can leave a residue.
- Regular Inspections: Periodically check for scratches or wear on the non-stick surface. If the coating is compromised, it might be time for a replacement.
Temperature Control Tips
Understanding how to use the temperature settings effectively can improve your cooking outcomes. Here are some tips:
- Start Low: When trying out a new recipe, start at a lower temperature to prevent burning and adjust as necessary.
- Use a Thermometer: For precise cooking, consider using a food thermometer to gauge the internal temperature of meats and other dishes.
- Monitor During Cooking: Keep an eye on your cooking process; the electric frying pan can heat up quickly.
Storage Tips

Proper storage is essential to maintain the integrity of your electric frying pan. Consider the following:
- Keep it Covered: If possible, cover the pan with a cloth or its original box to prevent dust accumulation.
- Avoid Stacking: If you store multiple pans, avoid stacking them directly on top of each other to prevent scratches.
- Store in a Dry Place: Ensure the storage area is dry and cool, as excessive moisture can lead to rust and damage.
Common Issues and Solutions
Even with proper care, you may encounter some common issues with your electric frying pan. Here’s how to address them:
- Uneven Heating: If you notice hot spots, check the power cord and connections. Ensure the pan is placed on a flat surface.
- Food Sticking: If food is sticking despite using a non-stick surface, it may be time to replace the pan or check if it’s been damaged.
- Inconsistent Temperature: If the temperature control isn’t functioning as expected, consult the user manual for troubleshooting tips or consider professional repair.
Case Studies: Real-Life Experiences

Real user experiences can offer valuable insights into the benefits of proper care for electric frying pans. For instance, a home cook named Lisa shared her story of how neglecting her frying pan led to a burnt dinner. After learning about proper cleaning and maintenance techniques, she found that her meals turned out more delicious and required less effort to prepare.
Another user, Mike, discovered that by consistently using proper utensils and cooking techniques, he could prolong the life of his 10-inch electric frying pan. He noted that avoiding high heat settings helped maintain the non-stick surface for longer periods.
Caring for your 10-inch electric frying pan is not just about maintaining its appearance; it is essential for ensuring its functionality and longevity. By following the tips and tricks outlined in this article—such as proper cleaning, maintaining the non-stick surface, and effective temperature control—you can enjoy delicious meals for many years to come. Remember, a well-cared-for frying pan not only enhances your cooking experience but also contributes to healthier meal preparations. Embrace these practices to ensure you get the most out of your kitchen companion!